My mother-in-law Jess, was a spinner, weaver and dye-maker for many years. This was the catalyst which prompted me to join 10 other people (only two of whom had prior dyeing experience) for this two day workshop run by Aukje Boonstra. There were a few jokes throughout the day about outsiders wondering about a workshop on dyeing!A variety of techniques were outlined, while the results from using different materials and mordants (alum, copper, iron which are used to bind the dye with the cloth) were explained with reference to a sample book that Aukje has compiled over a number of years. A range of clothing (scarves, dresses, ties, shirts, hangings) was also on display.
Aukje outlined the dyeing process as follows.
1. 10 litre pots of water boiled, each with a particular plant material. Pots filled with alternate layers of plant material and fabric material; when layering completed, pot ¾ filled with water. If fabric material not bundled (see below re bundling), leave room between layers for material to interact with liquid.
2. material to be dyed soaked in water (silk and cotton for a short time/wool skeins for as long as possible)
3. material squeezed dry
4. material either ready for dye pot or ready for bundling
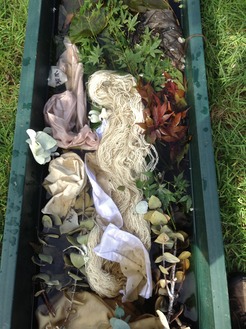
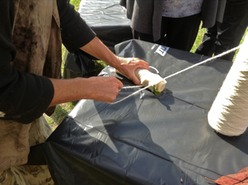
5. for material to be bundled:
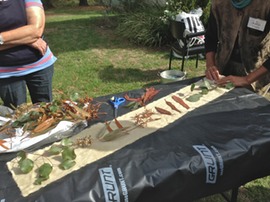
a. material laid out
b. objects (plant materials pre-soaked, rusted metal, etc) placed on material
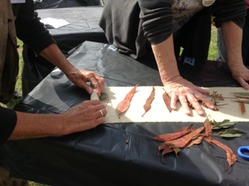
c. material tightly rolled and tied (concertina folds/pleating folds produce regular patterns in material)
6. mordant added to dye pot (mordant can be added either when 10 litres of water is warm/boiling OR mix mordant with small amount of hot water and add to dye pot and bring all to boil; alum-heaped teaspoon for 10 litres; copper-pinch for 10 litres). Alum brightens and fixes colour; iron (in the form of rusty objects) darkens colours; copper (in the form of copper sulphate) produces a green colour.
7. material placed in dye pot
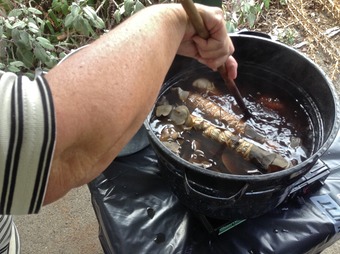
8. material left in boiling dye pot (checking water level throughout) until required colour achieved, then heat off (if material to be over-dyed, remove from dye pot and dry overnight)
9. material left in dye pot overnight until cool
10. the big reveal
We then set to work preparing fabric materials (wool, silk and cotton), experimenting with different wrapping techniques (concertina fold, pleating) and incorporating a variety of objects (rusty items, seed pods, gum nuts, leaves, shells etc). The first day focused on lighter/subtle shades of dye (onion skins, wild cherry, eucalyptus cordata), the second day on darker shades (walnut nuts and shells and eucalyptus cineria both with added iron sulphate, wattle bark [no mordant]). On both days Aukje provided willing and helpful advice and tips.
On the morning of the second day, we all eagerly unwrapped our bundles of dyed fabric; the results from all were fantastic with a diverse range of effects, colours and compositions. We then set to, bundling fabrics for the dye pots that contained plant material designed to generate darker dyes.
During the afternoon, Aukje commented on the groups’ efforts and gave suggestions on washing and ironing the dyed fabrics. Aukje finished by showing how she has used dyed materials to make scarves, shirts, bags, dresses and other items. And finally Aukje shared her enthusiasm for gathering objects found on the beach which showed the effects of time, sun, sand and salt water in producing “dyed effects” without any human input.
A delightful two days of exploration lead by a committed and enthusiastic dyer; thanks Aukje. I’m sure my mother-in-law would have enjoyed this workshop as much as we did.
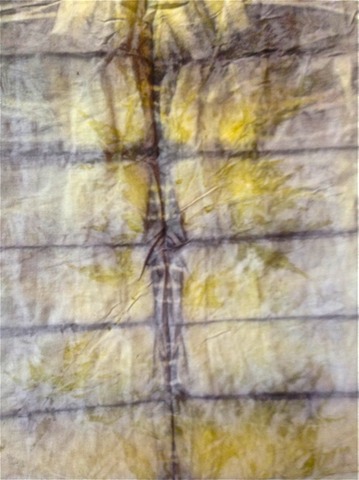
Below: Bundled using gum nuts (cotton)
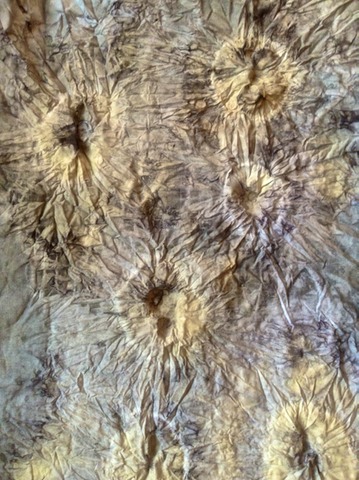
At right: Bundled using metal bolts (cotton)
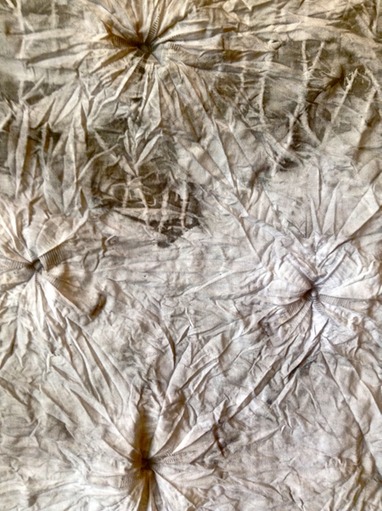
Below: Utilizing folds (cotton)
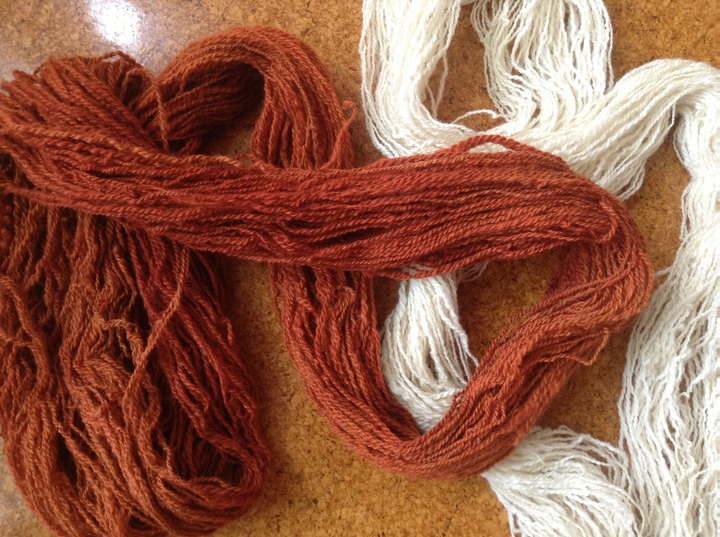
Below: Dyed and natural skeins of wool